Food & Recipes, Home Entertaining
Recipe for Slow Roasted Onion Dip
This is the onion dip taste you’ve been looking for – seriously. You’re going to want to keep this one.
You go to a party and – there it is – your favorite onion dip that we all learned to make with sour cream and dried onion soup packets from the market. It worked for us in the beginning, savory, salty, with all that delicious onion flavoring (and with all those ‘lovely’ preservatives). But, what if you can say that yours was homemade and much more delicious? Made one from scratch? Now, wouldn’t that turn some heads?
The exciting thing is that roasted onion dip is actually very easy to make. I found a straightforward recipe from Bon Appetit that will have you and your guests craving this over and over. And, I guarantee that you will never look at the soup packets the same way again.
- Preheat your oven to 400 degrees
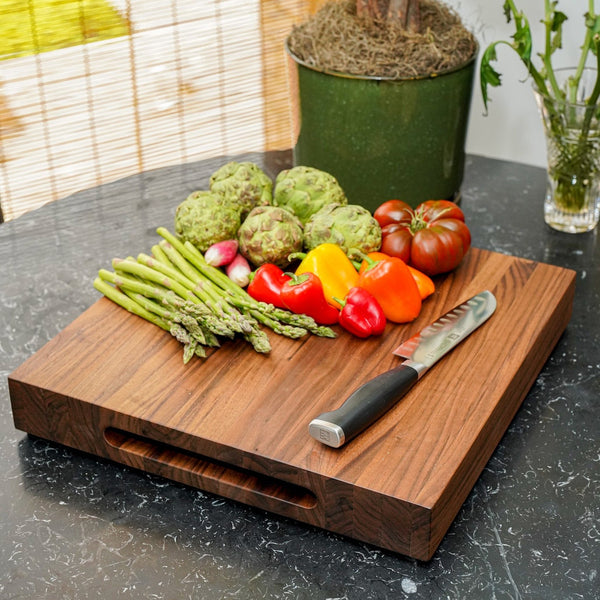
- Peel and trim the ends of about 1.5 pounds of mixed (red, white, brown) onions and thinly slice – you can use a mandolin if you have one.
- Line a sheet tray with parchment paper, toss the onions and 4 unpeeled (you want them to basically steam in their skin) cloves of garlic with a ¼ cup of olive oil and 2 TBS water. Season with salt and toss again to make sure everything is coated evenly. Then pile them up into a nice tidy pile in the middle of the tray. The goal here is to actually steam them into submission.
- In this recipe, as you might expect, you have to caramelize the onions. But this is the part that really got my attention. Instead of shepherding your onions over a hot pan on a stove top, we’ll let the power of convection (and steam) do the job for us. And they won’t be soggy, and they’ll reach a beautiful color, aroma, and flavor!
- The “convection” action happens within the tidy pile of thinly sliced onions and garlic. The steam from all that cooking radiates heat in all direction. When you think about it a bit, it all makes total sense.
- As you bake, toss and stir your pile of onions and garlic about every 10 minutes. Make sure you push it all back into a big pile before putting it back in the oven. Do this until everything is golden brown and soft. When I use this recipe—see my video here—it took about 40 to 50 minutes. Some of the onions will brown quicker than others, but that’s fine.
- If you find after 40-50 minutes that your onions are nice and soft but not quite as golden as you’d like – spread them out on the sheet tray and put back in the oven for a few minutes to add color.
- When it’s time, remove the onions from the oven and allow them to cool. They will cool quicker if you spread them around.
- Transfer the onions and garlic to a cutting board. Separate out the garlic and squeeze the cloves: basically, the garlic will squish out from the peelings. Smash the garlic with the side of a knife until it turns into a paste. Transfer the squished garlic to a medium bowl.
- Finely chop the browned onions and add them to the same bowl.
- Then, add 1 ½ cup plain whole-milk Greek yogurt that you’ve mixed with 2 tsp of lemon juice. Season with salt and pepper. I always recommend Kosher salt because it’s less salty and easier to control. Stir everything together until well combined. Taste and adjust seasoning as needed.
- Place in a serving bowl and sprinkle some cayenne pepper on the top for color.
Serve with fresh radishes, baby carrots, or potato chips. Note on the chips: use the unsalted ones because the dip will be salty enough. Now, look what you’ve done: an excellent game-day dip. Wait for the head-turning when your guests ask why this onion dip is SO much better than the one they usually get and you tell them it’s because you made it yourself!
RELATED ARTICLES

Fran Berger Restaurant Guide Featuring Chopin Vodka
Whether at home or traveling (as I so love to do!) there are always opportunities for turning the ordinary into...
Read more
Fran’s Ultimate Guide to a Delicious Virgin Espresso Martini
It’s no wonder espresso martinis are so popular. The caffeine-infused cocktail is sophisticated, elegant, and bold. It’s both stylish and...
Read moreCOMPLETE YOUR TABLE
SHOP FRAN BERGER LIVING